
I have been seeing around Pinterest for a while these cute little flowers made from felt.
So when I was deciding what to have on the table for our Mother's Day dinner, I wanted to give these a try. They are SO easy and to make 5 of them took me less than 30 minutes.
Supplies to gather: Felt, hot glue, pencils (or dowels), green floral tape, and scissors.
Step 1: Cut a strip of felt about 2 inches wide. The longer your strip, the larger your flower. I had a big roll of felt that I used so my strips were about 2 feet long by 2 inches wide. Fold the felt strip in half and cut 1/2 inch snips about 1/2 of an inch apart. Make sure you don't cut all the way through the strip...

Step 2: With the strip folded in half, start rolling from one end of the strip.

Step 3: As you roll, put small drops of hot glue on the side that doesn't have the snips cut out of it (or what I consider to be the back side of the flower...)

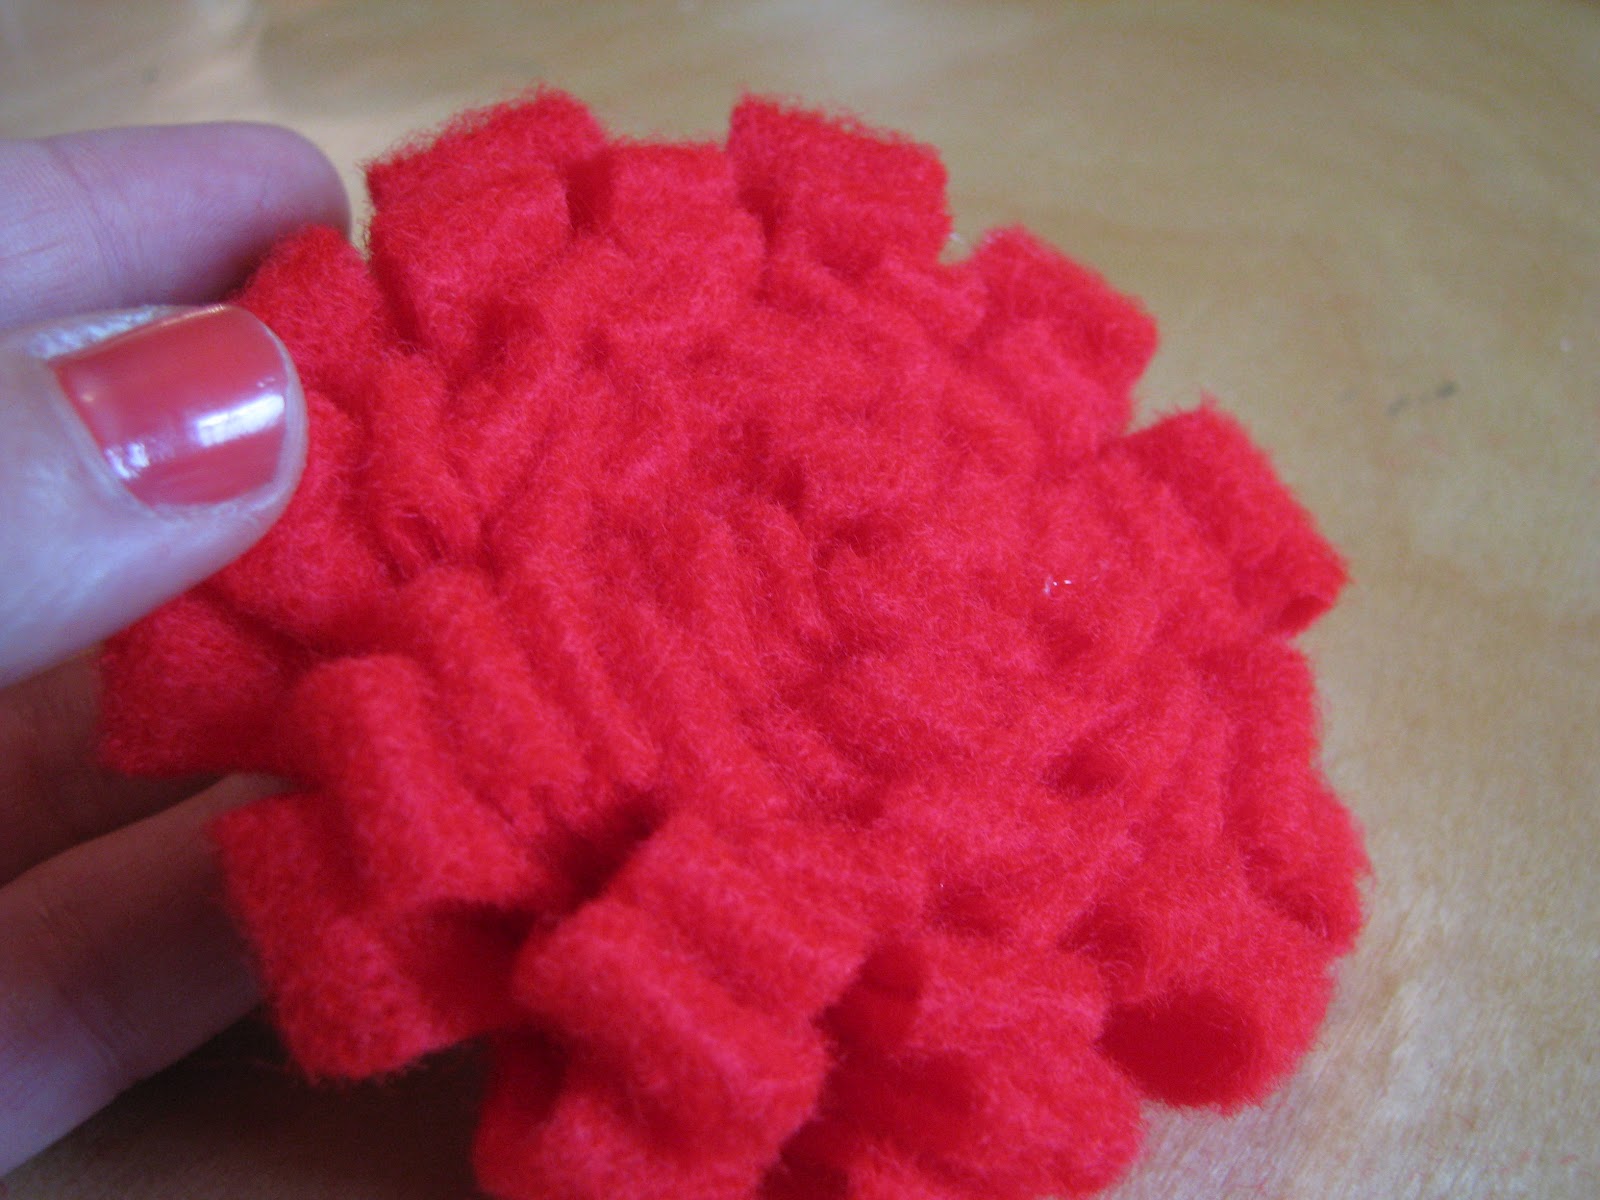
Keep rolling and glueing every few inches. This is what the front of the flower will start to look like.

And this is what the back of the flower will start to look like.

Step 4: Once you have rolled to the end of the felt strip, secure end with hot glue.

Step 5: I covered a pencil with green floral tape the same way I did {HERE} and used hot glue to secure it to the back of the flower as the stem.

Step 6: Cover the top part of the pencil with a piece of matching felt and glue down at the sides.

Tada! I would have added leaves, but I didn't have any green felt...but I could always add them later.

I love felt flowers! Great idea for attaching them to the "stem" with a little felt pocket on the back.
ReplyDeleteA great tip for hot glue strings that I read (since I know I end up with them when I make these!) is to blast it with your hair dryer :)
What fun, pretty, colorful centerpieces, Veronica!
ReplyDeleteAre those the beads from your wedding reception centerpieces?
Very creative = )
Nice tutorial. I saw it over at Hope Studios Link Party.
ReplyDeleteThese are sooo sweet! I love them.. Hope you will hop on over to my under 300 followers blog hop @ http://pinkapotamus.blogspot.com/2012/05/under-300-followers-blog-hop-2.html
ReplyDeleteI am your newest follower~ Congrats on 100 followers!
I love the idea of putting them on a stick, I always just make jewelery out of them! Thanks so much for sharing and I am a new follower!
ReplyDeleteHope you have a great day!
Michelle
www.delicateconstruction.com